

Why do my photos take so long to upload online?
And why is my computer’s hard drive filling so fast?
What’s the best size for editing?
If you’re using broadband with a reasonably fast connection, then the likely reason for photos uploading slowly is that you have set your camera up to take them at too big a size.In most cases, you’ll only need photos of around 3000 pixels wide. 3000 pixels should be fine for printing an A4-size photo. In fact, if you look at Photobox recommendations for example, you’ll see that 3000 pixels would be more than enough to print, even, an A3-size image to photo quality. Unless you want to print high-res photos that are 20”+ wide, your camera shouldn’t need to be set up to take pictures, as many are, with anything in the 4000-6000+ pixel-width range.
A Good Size for Editing
2900 – 3600 pixel-width or around is a good image size range for detailed editing. Too few pixels make them harder to edit in detail. Too big and they just take up hard-disk space unnecessarily – unless you want to print to a huge size. So, our recommendation would be to choose a pixel-width on your camera of around 3000 or thereabouts, depending on what your camera offers.
Image Quality
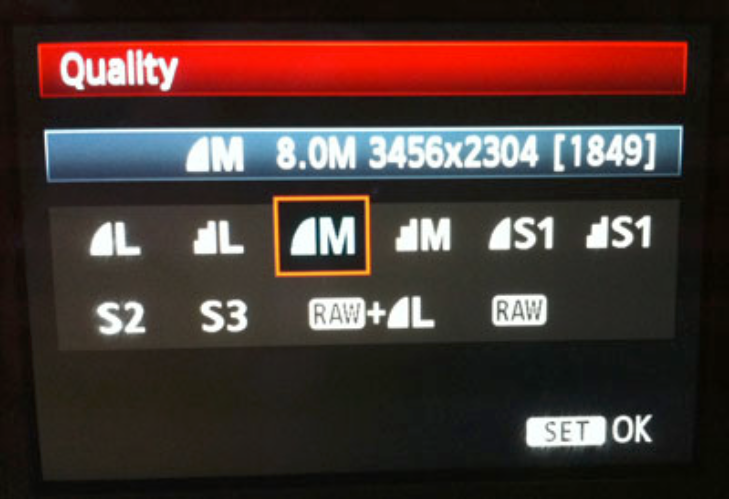
As well as choosing the pixel-width in your camera’s settings, you can choose the quality of its Jpegs as well. In simple terms, when saving Jpeg image, the camera carries out a process called ‘compression’. The camera looks at all of a photo’s pixels and decides if there are any that aren’t needed, then it deletes them. Your camera does this instantly, but you can decide how aggressively it does it.With Canon cameras, you want to select the little icon that looks like a smooth-curved quadrant. The icon with the steps that are cut out of it will result in more pixels being discarded and that could mean the image won’t look as good. Each time you re-save an image in a program like Photoshop, the image gets compressed even more, so it’s best to start with an image that hasn’t been compressed too much.You’ll find the image size and quality settings in your Canon’s menu. It’s usually at the top of the first tab on the left.
Nikon
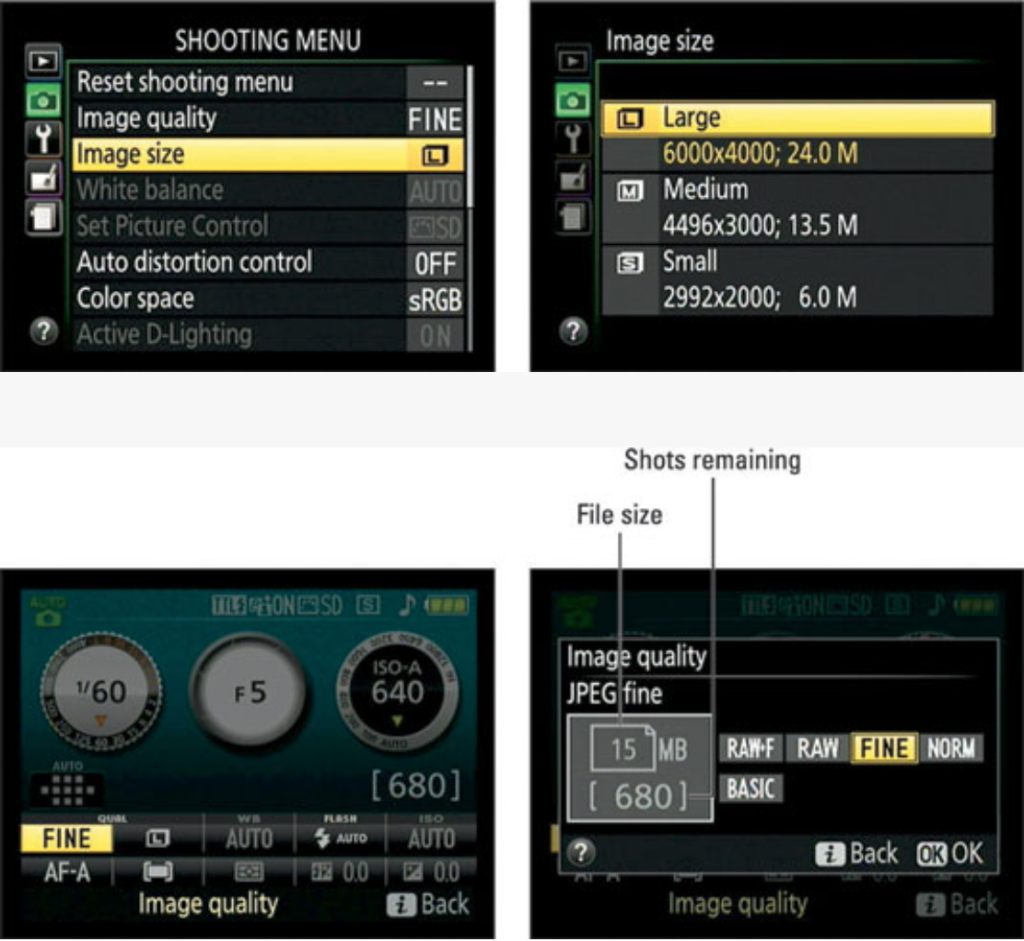
You can choose from three different JPG quality settings: Fine, Normal, and Basic. The Fine setting, therefore, is best if you’re looking for the highest image quality, and is better especially if you plan to edit the files. The Medium and Basic settings have slightly lower quality, but they save space on your memory card and can be more convenient for sharing the images directly out of the camera without any post-processing.With this particular Nikon model below, the Small size should be more than ample for A4-size photos and very probably, A3-size as well.
Try setting up your camera in the 2900-3600 pixel range and try-out how you feel about the print quality. If it isn’t as good as before, you can always go back to what you were doing. But unless there’s something odd about your print process, you’ll likely want to thank me for the time you’ll save uploading your images to Doctor Photo and to Rightmove etc. And you’ll not fill your hard disk up anything like as fast as you’re doing at the moment.


.jpg)